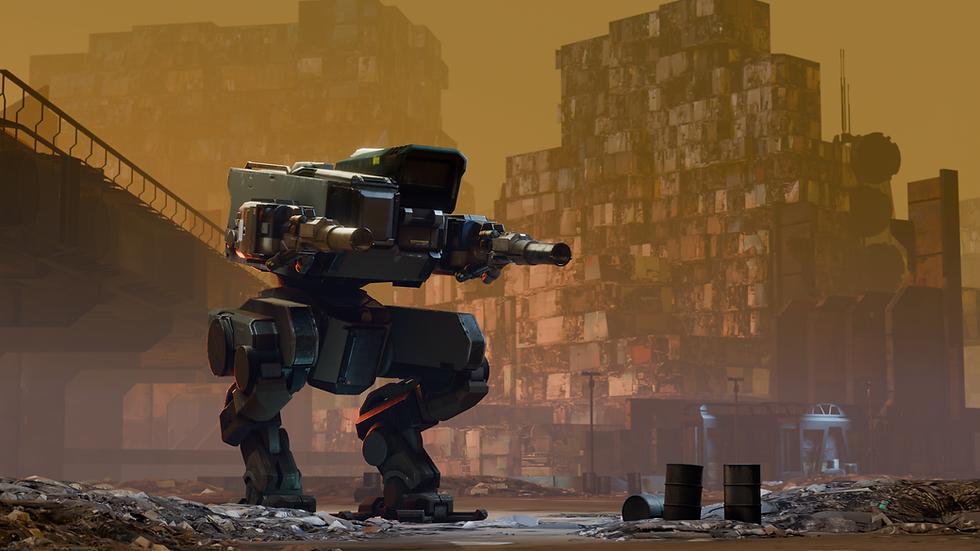
Iron Rebellion Mech Showcase: Reinforcer
- Justin spice
- Feb 7
- 3 min read
Updated: Feb 20
Reinforcer Role & Core Gameplay Concepts

The Reinforcer functions as a mobile deployment and repair station on the battlefield. You are the only class that allows teammates to deploy directly onto you, making positioning one of your most important responsibilities. A well-placed Reinforcer can turn scattered skirmishes into coordinated assaults.
When a teammate spawns on you, they’ll need a brief moment to power up their mech and orient themselves. If you’re already deep in combat, they’ll enter the fight at a serious disadvantage. Ideally, position yourself near (but not inside) the front line. Medium-range weaponry allows you to contribute to the fight while keeping deployment zones relatively safe.
Keep mass and repair pods flowing. As you move out from your friendly spawn point, leave a trail of mass so allies can deploy and immediately gear up for combat. When a teammate spawns on you, dropping an ammo crate or repair pod helps them rejoin the fight at full strength. Be mindful, however, not to leave supplies where enemy units can easily capture and use them.
IMPORTANT: Unlike other mech classes, all of Reinforcer’s abilities operate on cooldown timers rather than requiring mass. You are the producer, not the consumer of mass. Avoid picking up mass crates unless you specifically need to replenish weapon ammo.
Reinforcer is also one of only two mechs capable of deploying artillery. In many situations, it’s arguably the stronger artillery platform thanks to its ability to self-supply ammo, repair damage, and provide localized support through smart turret placement.

Cockpit Tip: Turn your map display off using the third button with the white triangle on the panel beneath it for increased visibility down low. You can turn it back on with the second button.
"Hey! Did you guys know that if you look behind you, there's a coffee pot in this one too?!"
Stats (Unaugmented)
HP: 400 (6 sectors)
Max Walking Speed: 37
Max Sprint Speed: 103
Sprint Duration: 3s.
Static Jump Height: 12m
Jump Jet Duration: 3s
Boost Recovery: 3s
Turn Rate: 45 deg/s
Special Abilities

A1 - Ammo (Mass)
Cooldown: 20 seconds
EXP gained: 15
Drops one ammo crate at your location. (May take a second or two to appear.)
A2 - Health (Repair Module)
Cooldown: 20 seconds
EXP gained: 30
Drops one repair module at your location. Note that this gets you more EXP than any of the other drops, so when you're dropping something simply because you have one available, the repair module is a good choice.
A2 - Turret
Cooldown: 40 seconds
EXP gained: 15
Max Qty: 3
Deploys a single turret equipped with dual LR-FOS beam lasers. On its own, it is weak. With a second or third all shooting at the same target, the enemy will be dispatched quickly.
Turrets are extremely fragile and can be destroyed by any weapon much faster than they can be set up. When using turrets to protect a specific spot or area, it's advised to place the turret somewhere it can only be shot at once the target arrives in the area (rather than being able to destroy the turret as they approach). Spreading turrets out with 100m to 200m spacing will help avoid all of them being destroyed at once. It will also allow them to create crossfire situations which are highly effective.
In a pinch, a turret also makes a good early detection system. If you're worried about being flanked, placing a turret behind you will give you a few moments to turn and engage rather than being taken by surprise. This is especially important when you're running without mobility augments as it takes you almost 5 seconds to turn around and look behind you.
Augment Notes
Most augments work on the Reinforcer mech. In most combat scenarios, you will benefit greatly from the use of some of the mobility-related augments. Since you will not use mass, there is no benefit from running either Mass Extractor or Mass Expansion.
The Iron Rebellion Mech Showcase series was created by community member, GenericBeard. Iron Rebellion works closely with the community to ensure that the game is continuously evolving and meeting the expectations of its playerbase.


Comments