Build Your Own VR Maps in Iron Rebellion
- alyssa3124
- Jan 13
- 4 min read
Community Map Creation

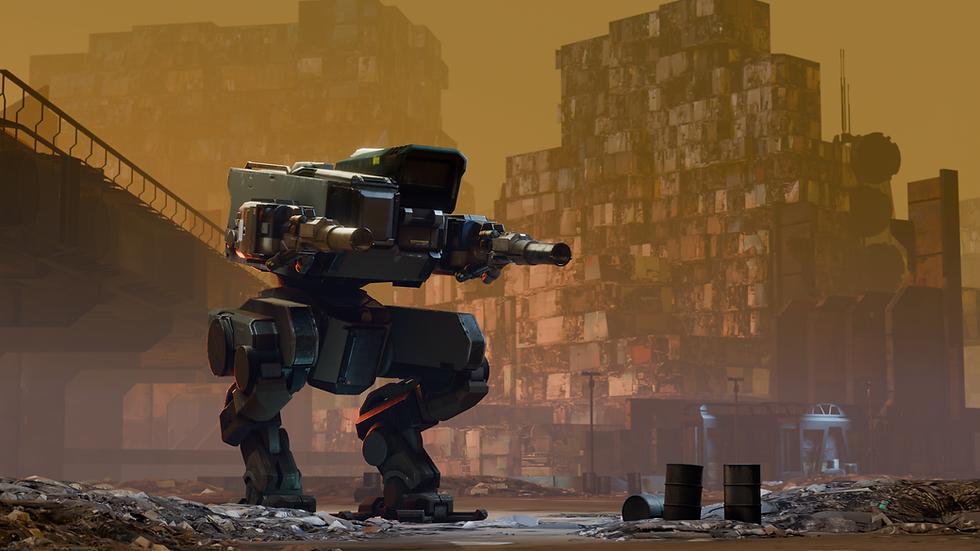
All of the above maps were made by our community members.
Iron Rebellion supports community-made maps, and while the current workflow is still an early proof of concept, it’s designed with one major goal in mind: a low barrier to entry for building maps in VR. If you’ve ever wanted to learn level design, experiment with game spaces, or understand how VR shooters are built, this is a rare opportunity to do that inside a live VR game.
Think of this as hands-on VR game design without needing to build an engine, handle multiplayer infrastructure, or write gameplay code.
The Basic Workflow
Design and model your level in Blender (or another 3D tool)
Export your map file
Load it into Iron Rebellion using the custom level loader
Iterate and playtest
Once you're a couple iterations in, and are happy with it, pass it to devs to implement the map in the community section.
Testing Custom Levels
We currently support loading custom levels through .glb format. This format has better support for real time loading, empty locators and it can even pack textures (and to an extent materials) into the file. Once you model and texture your scene, export out the .glb file and place it in the game’s directory following the instructions below:
For PCVR / Linked:
Place your .glb file under the game's directory: “Assets/Levels/Custom/Level.glb”

FOR ANDROID / QUEST:
Place your .glb file into:
"\Internal shared storage\Android\data\com.Black_Beach_Studio.Iron_Rebellion_VR\files\Level.glb”

Important
Make sure the glb file is placed in the exact folder and named correctly.

When in game, hit L on your keyboard or click the small gray button in the bottom right corner of the mech bay main monitor to launch a custom level, if the button doesn’t appear, the game didn’t find the file due to some reason, most likely wrong directory or file name.
This starts a custom marked server and places your file into the scene.
Naming Convention and Auto Population
Custom level loader will also populate certain things if there’s objects whose names contain the following text:
“HealthPickup”
Spawns health pickups
"AmmoPickup"
Spawns ammo pickups
"AIPatrolPoint"
Gives pointers to the AI, without these bots will not work
"SpawnPointRed"
Red team players spawn
"SpawnPointBlue"
Blue team players spawn
"SpawnPointAIRed"
Red AI bots spawn
"SpawnPointAIBlue"
Blue AI bots spawn
"ConquestObjective"
Spawns a conquest objective, currently mostly broken, only HUD works
Important
The above names are case sensitive, adding a space, underscore, changing capitalization or anything else will cause it to not work.

Textures
.glb file format is really flexible with materials, all the referenced textures get packed inside the file. Feel free to mess with light baking, various atlassing, trim sheet methods.
Testing with Others
Custom servers can be joined with anyone who has a “Level.glb” file in the right directory. If you send your .glb file to a friend or other Discord members, they will be able to join your server and you can test things out together. This is one of the fastest ways to validate flow, scale, and combat readability.
Making Your Map Official
Once you’re happy with your level:
Follow all naming conventions
Ensure the custom level loader works correctly
Clearly organize your scene
This makes it far easier for the devs to integrate your map into the community section.
-----
Custom Level Preparation Guidelines
Mech spawns in 0,0,0 coordinates.
Medium mech height is about 6-7 units.
Max walkable slope is about 30~ degrees.
Jump + hover allows players to reach about ~3x mech height
Geometry
Triangulate your mesh
If you have some complex geometry, especially ngons, please triangulate your mesh before exporting
You can do this very easily by adding a triangulate modifier in blender and linking it to all objects.
Check your normals orientation, this can result in objects rendering inwards / backface culling in game.
You can check this easily by enabling “Face orientation” overlay option in Blender
All meshes will receive mesh colliders
Final Delivery Checklist (For Dev Integration)
Playtest your level as much as possible
Check normal orientation, make sure there are no inverse / flipped normal geometry
Ensure that movement is smooth and predictable, mechs can go through all the spaces they need to
Keep polycount below 100k triangles for the final level
Keep your object count below 150
Be sure that your objects’ scale is applied, or at least uniform.
Created lightmaps will be stretched and inefficient, and negative scale will flip normals in game.
Deliver a .blend file for developer integration.
Please name and organize (use collections) as much as possible, follow naming conventions for gameplay objects and make sure those are grouped in collections.
Helpful Links
Join the Discord
CUSTOM LEVEL FUNCTIONALITY IS CURRENTLY BEING TESTED